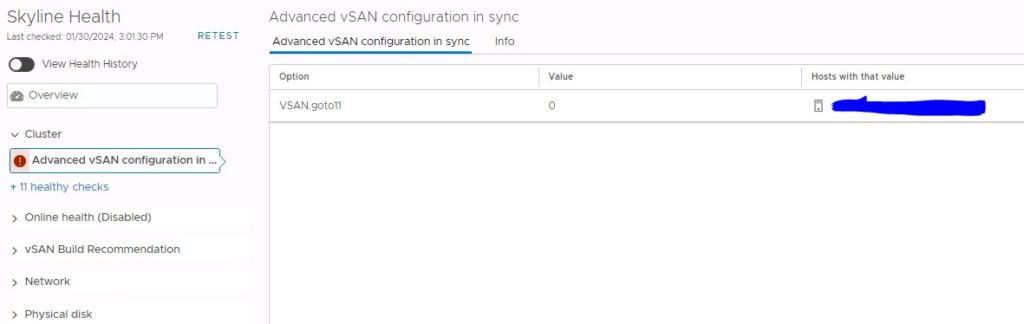
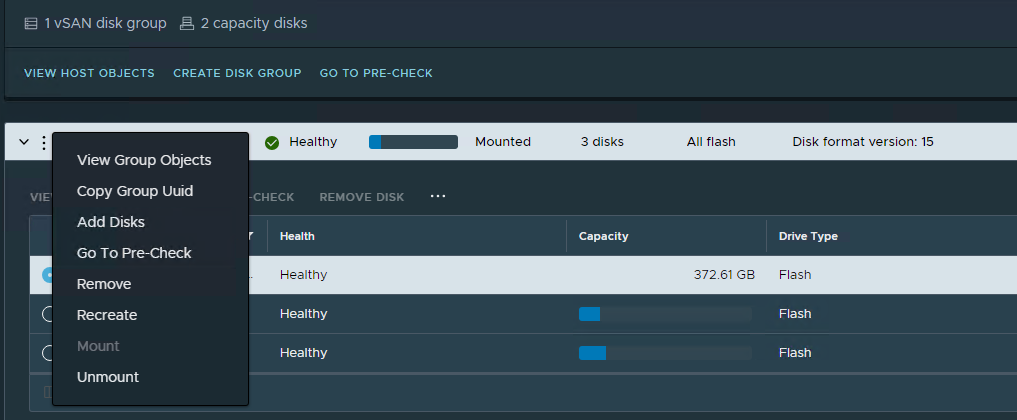
When a vSAN “cache” disk fails and gets replaced you need to rebuild the entire disk group that the cache disk belongs to. The normal way of doing this is to put the host in maintenance mode and then click the three dots next to the disk group and select “remove” (see picture below) – but unfortunately most of the time you get this error when trying to remove the disk group:
General vSAN error. vSAN disk data evacuation resource check has failed for disk or disk-group vsan: <UUID>
Luckily there is an easy way of removing the disk group from ESXi CLI that does seem to work every time (at least for me!). Enable SSH on the host containing the defective disk group. Locate the diskgroup UUID and run the following command (remember to replace <UUID>):
esxcli vsan storage remove --uuid <UUID>If you are unable to find the UUID for the diskgroup then you can run this command:
esxcli vsan storage listWhich will give you an output like this:
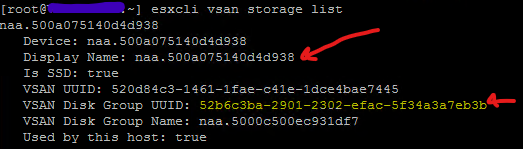
Important! – if your host has more than one disk group find the correct one by searching for an belonging disk (naa.xxxxxxx – first red arrrow). When a disk in the group that you need to delete is found, note the “vSAN Disk Group UUID” (second arrow) – this will be the UUID you need to delete with “remove” command mentioned earlier!
If you are uncertain what is going on here – then call VMware support. Deleting the wrong diskgroup can have fatal consequences!
For more information see VMware KB2150567 – link